検索システムであるApache Solr(ソーラー)を使ってみたのでその報告をします。
1.1 Apache Solrとは?
Apache Solrは、全文検索ライブラリであるApache Luceneを使用した検索エンジンサーバです。Solrの特徴としては以下の通りです。
- Javaで記述されている.
- 各種サーブレットコンテナ上で動く.
- RESTライクなAPIを提供し、ドキュメントの登録にはXML, JSONなどを使う
- 検索結果のハイライト
- ファセット検索
- レプリケーション
- ...
機能がありすぎて調べきれていません。
1.2 Solrのインストール
ここではApache TomcatにSolrをインストールする手順を説明します。使用したソフトウェアは以下の通りです。
- Apache Tomcat 7.0.32
- Apache Solr 4.0.0
- Java 1.6.0_37
まず、Apache Tomcat を適当なディレクトリに展開します。(ここでは/usr/local以下に展開します)
$ sudo tar xzf apache-tomcat-7.0.32.tar.gz -C /usr/local/
次に、Apache Solrを適当なディレクトリに展開します。
$ tar xzf apache-solr-4.0.0.tgz
Solrを展開後、dist/apache-solr-<ver>.war を、展開したTomcatのwebappsディレクトリ以下にコピーします。また、コピーする際ファイル名を solr.war に変更します。
$ cd apache-solr-4.0.0
$ sudo cp dist/apache-solr-4.0.0.war /usr/local/apache-tomcat-7.0.32/webapps/solr.war
warファイルを置いた後、Tomcat、Solrの設定を行います。
Tomcatの設定
apache-tomcat-7.0.32/bin/setenv.sh ファイルを用意します。内容は以下の通り。
CATALINA_HOME=/usr/local/apache-tomcat-7.0.32
SOLR_HOME=/var/solr
JAVA_OPTS="$JAVA_OPTS -Dsolr.solr.home=${SOLR_HOME}"
solr.solr.home以下にSolrのファイル(インデックス等)が置かれます。setenv.shファイルには実行権限をつけておきます。
$ sudo chmod +x ${CATALINA_HOME}/bin/setenv.sh
次に、server.xmlのConnector(port=8080)にuseBodyEncodingForURI=”true”属性を追加します。日本語を含むクエリを投げる場合に必要です。
<Connector port="8080" protocol="HTTP/1.1"
           connectionTimeout="20000"
           redirectPort="8443" useBodyEncodingForURI="true" />
Solrの設定
今回は、apache-solr-4.0.0/exaxmple/solrを元にSolrの設定を行います。
$ cd apache-solr-4.0.0/example
$ sudo cp -r solr/* /var/solr/
1.3 Solrの利用
ドキュメントの登録
設定後Tomcatを起動し http://<hostname>:8080/solr/ にアクセスするとSolrの管理画面が開きます。
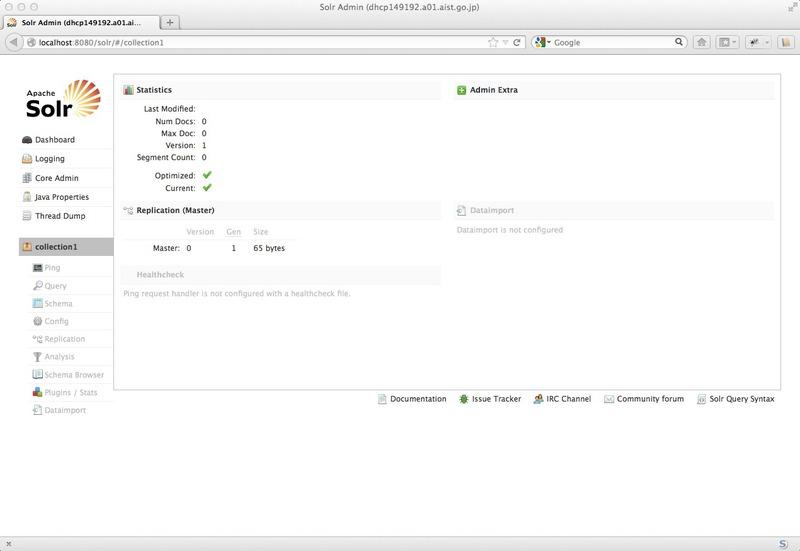
管理画面
まだ、何もドキュメントが登録されていないため “Num Docs: 0” となっています。
サンプルのドキュメントを追加してみます。
$ cd apache-solr-4.0.0/example/exampledocs
$ java -Durl="http://localhost:8080/solr/update" -jar post.jar *.xml
SimplePostTool version 1.5
Posting files to base url http://localhost:8080/solr/update using content-type application/xml..
POSTing file gb18030-example.xml
POSTing file hd.xml
POSTing file ipod_other.xml
POSTing file ipod_video.xml
POSTing file manufacturers.xml
POSTing file mem.xml
POSTing file money.xml
POSTing file monitor.xml
POSTing file monitor2.xml
POSTing file mp500.xml
POSTing file sd500.xml
POSTing file solr.xml
POSTing file utf8-example.xml
POSTing file vidcard.xml
14 files indexed.
COMMITting Solr index changes to http://localhost:8080/solr/update..
登録後、”Num Docs: 32”とドキュメントが追加されたことがわかります。
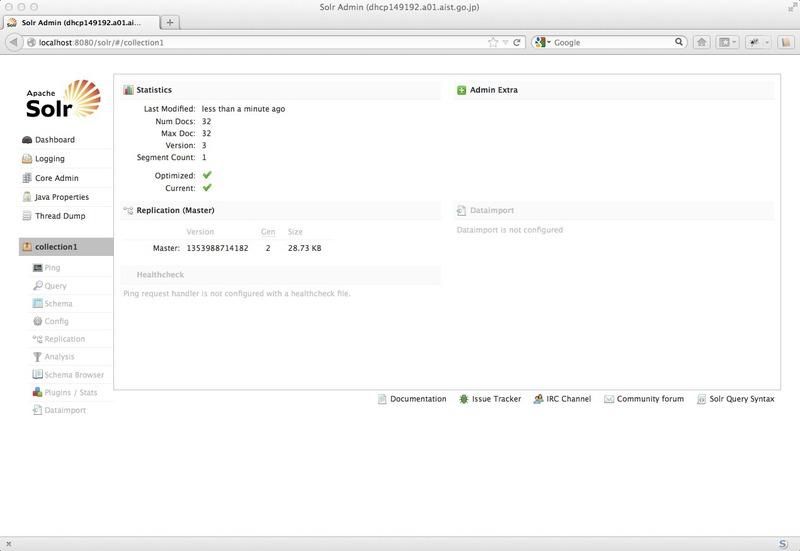
登録後
ドキュメントの検索
登録したドキュメントを検索するには、以下のようにHTTP GETします。
$ curl "http://localhost:8080/solr/collection1/select?q=hello&wt=xml&indent=true"
各パラメータについては以下の通りです。
- q
- 検索文字列
- wt
- 出力フォーマット (xml, json, csv, 他)
- indent
- 出力結果にインデントをつける
実際に検索してみると。
$ curl "http://localhost:8080/solr/collection1/select?q=hello&wt=xml&indent=true"
<?xml version="1.0" encoding="UTF-8"?>
<response>

<lst name="responseHeader">
  <int name="status">0</int>
  <int name="QTime">1</int>
  <lst name="params">
    <str name="indent">true</str>
    <str name="q">hello</str>
    <str name="wt">xml</str>
  </lst>
</lst>
<result name="response" numFound="1" start="0">
  <doc>
    <str name="id">SOLR1000</str>
    <str name="name">Solr, the Enterprise Search Server</str>
    <str name="manu">Apache Software Foundation</str>
    <arr name="cat">
      <str>software</str>
      <str>search</str>
    </arr>
    <arr name="features">
      <str>Advanced Full-Text Search Capabilities using Lucene</str>
      <str>Optimized for High Volume Web Traffic</str>
      <str>Standards Based Open Interfaces - XML and HTTP</str>
      <str>Comprehensive HTML Administration Interfaces</str>
      <str>Scalability - Efficient Replication to other Solr Search Servers</str>
      <str>Flexible and Adaptable with XML configuration and Schema</str>
      <str>Good unicode support: hello (hello with an accent over the e)</str>
    </arr>
    <float name="price">0.0</float>
    <str name="price_c">0,USD</str>
    <int name="popularity">10</int>
    <bool name="inStock">true</bool>
    <date name="incubationdate_dt">2006-01-17T00:00:00Z</date>
    <long name="_version_">1419760069929598976</long></doc>
</result>
</response>
こんな感じで結果が得られます。
以上、Apache Solrのインストールから利用までを簡単に説明してみました。
1.4 今後の課題
- インデックスの追加、削除、更新方法調査
- Schemaの設定方法
- クライアントプログラムの実装
- マルチコア設定
- レプリケーション設定